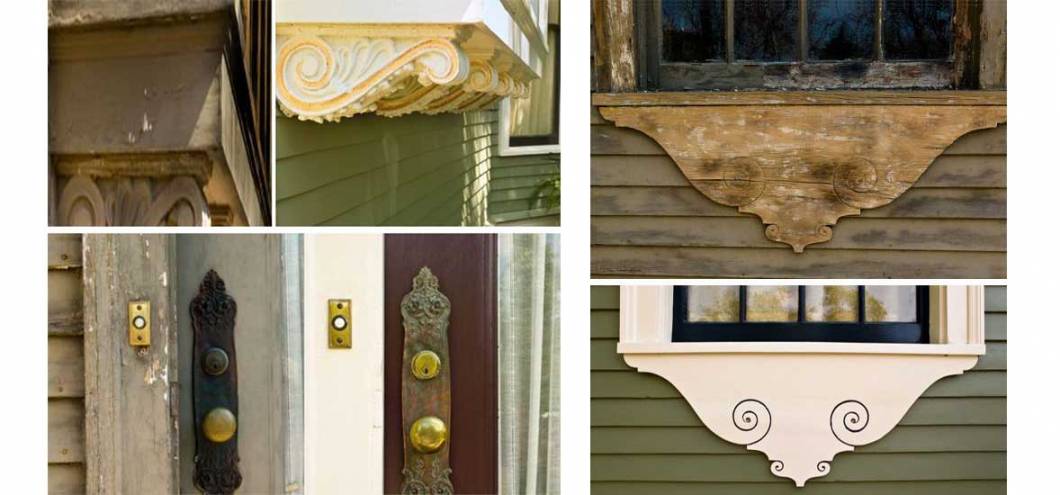
Preparing Your Victorian Home’s Surfaces for Painting
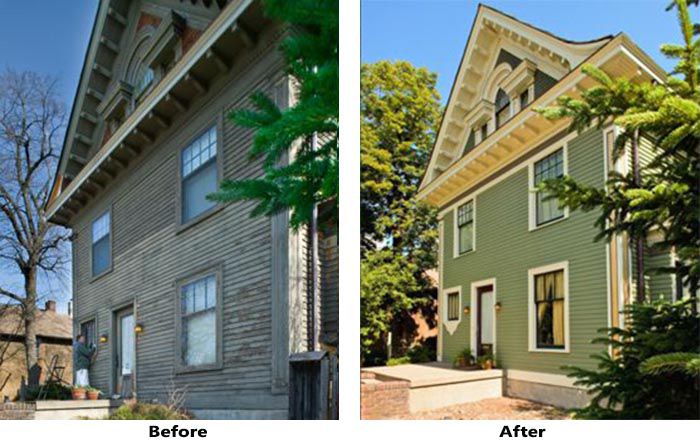
Before and After: How Painting Turns Back the Hands of Time
Surface preparation is a demanding process requiring the use of specialized equipment while the work proceeds. At William Nunn Painting, we use up-to-date equipment and painting methods that comply with current EPA guidelines pertaining to Renovation, Repair and Painting. This protects workers and homeowners from the potentially damaging effects of exposure to lead in old paint, something that young children can be particularly vulnerable to.
In the long run, good paint preparation techniques add years to any Minneapolis exterior paint project.
The journey to obtaining a lasting and beautiful newly painted surface includes considerable and proper preparations before applying the actual paint. While some paintwork looks fine enough initially, it may fade, flake or bubble is critical prep work was skipped. Bubbles resulting from localized loss of adhesion and lifting of the paint film may have been prevented with initial care. We believe the extra work upfront offers our clients a job that will last longer and save money in the long run.
Fine Paints of Europe exterior finihes is one of the best paints you can buy. However, the true value is in the preparation and application. That is why it’s important to select a certified Minnestoa Fine Paints of Europe contractor. Meticulous preparation is crucial for achieving a beautifully painted and functional front door.
Add Years to the Life of Your Newly Painted Surfaces
 Too often our team of painting experts is called within a few short years after a paint job because it is peeling or another issue has surfaced. Paying close attention to the prep work and use of material used can add years to the life to your finished coat of paint. Our years of experience and truly developing the craft of an excellent paint job, have led us to carefully clean, scrape, fill sand, and prime your wall, so that your paint will adhere correctly. We begin by diagnosing and offering solutions to the problems most likely to have caused your paint to fail prematurely.
Unless the cause is discovered and corrected, the paint problem is likely to reappear and ruin your fresh paint job. Your long-term satisfaction is our goal.
Defined Levels of Surface Preparation for your Next Painting Project
The saying may apply here: “It’s all about the preparation”. We obtain good-looking, long-lasting, professional results largely due to our careful steps before ever adding a paintbrush stroke. How the surface should be prepared depends on the type of surface that the paint will be applied to and its condition.
A properly prepared surface is clean, has its original integrity, and is dry. This means that any cracks, splits, holes, and other imperfections have already been properly attended to. As the case often is that we are repainting a wall surface, we’ll cover that scenario here. Wooden homes are worth preserving and merit hiring a professional who understands how to prepare cedar wood sided homes.
How to Prep Previously Painted Surfaces:

- Remove all dirt, grease, cleaners, and oil buildup with the appropriate cleaner and rinse thoroughly. Drawing upon our years of extensive experience, each member of our painting team is fully trained how to do this and protect the integrity of the undersurface.
- Scrape, sand, or use the best technique for each project to dislodge and safely dispose of loose paint and powdery substances.
- Unwanted holes and cracks are patched with spackling, patching compound, or the best filler for the application. Adequate time for these prepped surfaced to dry before we move to the next step in critical. Often this depends on both the product and the weather. We arrive with fans and space heaters where they assist and help us move the process along.
- When needed, preparations include moisture and/or mildew treatment.
- For glossy or nonporous surfaces, lightly sand to a dull finish or use an abrasive cleanser. Often this requires several repetitions to gain the quality of painted surface that we like to achieve.
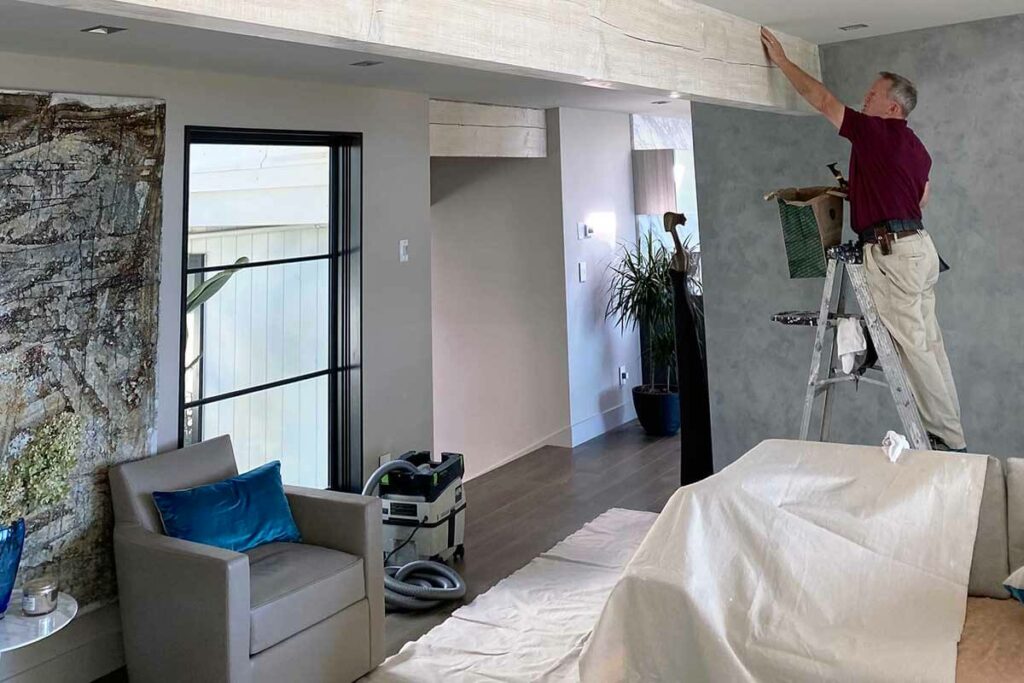
- Safe removal of sanding dust or cleanser residue. Typically we are removing old paint and dust generated by sanding with a carbide shaver and HEPA vacuum. This keeps your home clean and protects our staff while performing services.
- With good lighting and a trained eye, we ensure that all bare areas are primed prior to applying the topcoat. There is a lot to say for using the right primer for the job and avoiding undesirable “spot priming,” which may end in a non-uniform appearance between primed and non-primed surfaces.
- In addition, our preparation process includes making sure that we have protected other surrounding surfaces during the preparation and painting process. This includes covering furniture, interior rugs, lighting, etc. or working with you to remove some items temporarily. We’re happy to help place them back in the room once it is ready for you to enjoy your updated walls.
What about Other Surface Types?
Applying paint to wood-stained surfaces involves a different process. As well, masonry, concrete, cement, block, new plaster walls, new drywall, or wallpapered surfaces each have special needs when it comes to our paint preparations.
We will go over in person with you what to expect for your painting project. Your trust and satisfaction with the final outcome is our goal. When you hire a truly professional, experienced painter, like us, you have people on hand who understand how to properly prepare each surface for painting for each application type.
Our Professional Knowledge
Experience and customer feedback have taught us that historic homes deserve a professional painter.
Thick coats of paint and dark colors over some surfaces on walls exposed to more intense sunlight tend to blister more often than lighter colors and thinner paint. We take every aspect into consideration before a single brushstroke of the final coat is ever applied.
Applying the paint is the simpler aspect. Creating a sound, fitting, and dry surface for a fresh coat of paint is the more challenging and time-consuming part. Our deep understanding and respect for how it influences the end result means that you can count on a successful paint job. Take a look at examples of painted wall finishes by William Nunn.

 To learn more, call and request details about how restoring and